

 Written by Nico Delray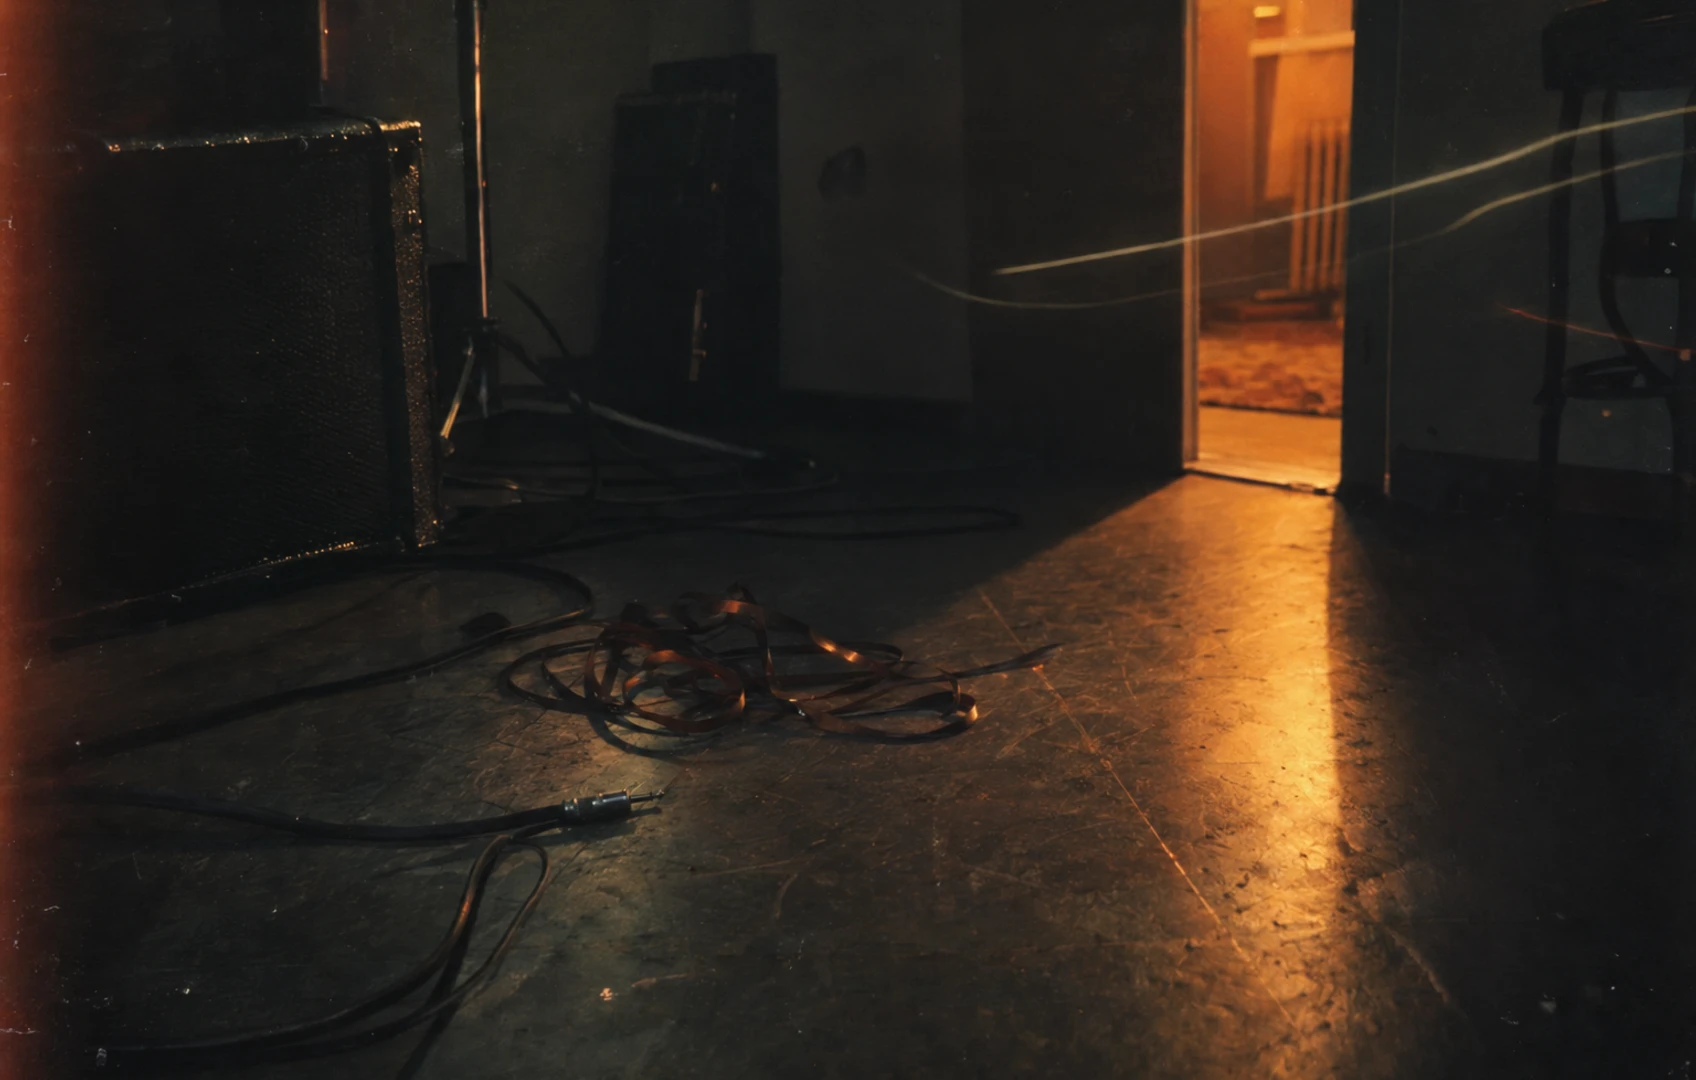
Tape at rehearsal
MusicRadar’s October 2 SampleRadar post offers 485 free tape-treated samples. For a guitarist folding samples into a song, that is a useful excuse to bring some worn edges into the arrangement. The interesting bit starts when the guitar comes back in and both sounds need the same patch of midrange.
Tape coloration can involve softened attacks, added harmonics, hiss or small pitch fluctuations. A given file may carry only some of those qualities. Each creates a different problem, or a different pleasure, alongside an amplified instrument. Hiss can fill a deliberate silence. Pitch movement can make a held chord feel beautifully unsettled.
The checks here apply to tape-treated sources generally. Start with one file and the guitar sound you intend to use, then listen to the first picked note and the space after the chord.
Give the sample a part
A sample deserves a job description before it gets another effect. It might carry the pulse, answer a guitar phrase or provide a sustained backdrop. Decide which role you want, because a sound that works for a two-beat entrance may become tiring across an entire verse.
Build a short passage with the actual guitar tone. A clean direct recording can leave a misleading amount of space if the eventual part will go through thick fuzz. Conversely, a sparse, bright guitar can leave plenty of room for a dense sampled texture. The amount of gain on the pedal tells only part of the story. The voicing and rhythm matter, too.
Try an arrangement edit before adding processing: remove the sample beneath a busy guitar phrase, then let it enter when the player holds a note. If continuous blur suits the song, keep it. Make the entrances and exits deliberate, down to the gap before the next downbeat.
Get past the louder version
A sample can win an audition because it is louder. Keep the guitar playback fixed and adjust the sample level while listening to the whole passage. When comparing extra processing against bypass, compensate for any gain increase so the effect has to justify its change in texture.
If the coloration is already recorded into the sample, there is no bypass switch for that earlier treatment. More saturation can add density while reducing the prominence of the attack you were hoping would make the part readable. A lighter hand on the next processor leaves room to hear what the source already does.
Listen through the quiet bits as well. A noise gate may cut off a tail you wanted to keep, and a quieter section may expose hiss that the chorus concealed. A clip fade or volume automation can give the tail a predictable ending. Check that fade with the guitar silent.
Leave space for the pick
Distorted guitar already supplies plenty of harmonic content. Adding another harmonically busy layer can blur the distinction between a picked entrance and the sustained sound behind it. Turning up the guitar may simply make the whole section denser.
First, shorten a guitar voicing or change where the sample enters. Then consider EQ. If the sample has low-frequency energy that contributes little to its role, a gentle high-pass filter may clear space. Judge it against the full arrangement. A file that sounds impressive alone can be too big for the part it needs to play.
For a sample you want to keep running, try a small automated level dip around the guitar entrance. Bring it back during the sustain and listen for obvious pumping. The right amount depends on the material, so there is little value in prescribing a universal frequency or compressor setting. Compare the passage with and without the move at the same listening level.
Inspect the joins
Texture can distract from a rough edit. Loop a chosen passage long enough to hear the join several times. Check for a cut-off decay, a click or a rhythmic bump. A short fade can help with a discontinuity, but a longer fade may soften an entrance that gives the loop its push.
If you stretch the file to a new tempo, judge the rendered result against the guitar part. Listen to held sounds as well as attacks. Stretching can introduce artifacts, and pitch movement already present in the recording can become more noticeable beside a steady note.
Leave that movement alone when it supplies the character you want. When it makes a specific chord feel uncertain, a shorter appearance or a different section of the file may work better. Also rehearse the exit from the loop. A neat repeat can still end awkwardly if the final tail is cut off at the next section.
Take it to the speaker
Before using the part at rehearsal, play it through the output chain you expect to use. A conventional guitar cabinet strongly shapes the frequency balance. A sampled texture routed through it may occupy a very different space from the same texture sent separately to the room’s sound system. Choose the route with the whole band playing.
If a stereo source will be summed to mono, audition that combination beforehand. Some stereo effects lose level or change character when their channels are combined. Check the rendered playback file too, especially if a live effects chain supplied part of the sound during writing.
Keep an untouched source and print a rehearsal version with its fades intact. Establish a clear start cue and an ending that leaves the intended amount of silence. If the part needs tight synchronization, agree who follows the playback and where the count-in or click will be heard.
Finally, stop playing and let the backing run into the gap after the song. Leave enough time to hear whether the tail ends as intended and whether the hiss actually stops. Let it run while you retune. If an unwanted loop starts another lap, move its stop point before the next rehearsal.
Comments
No comments yet.