

 Written by Nico Delray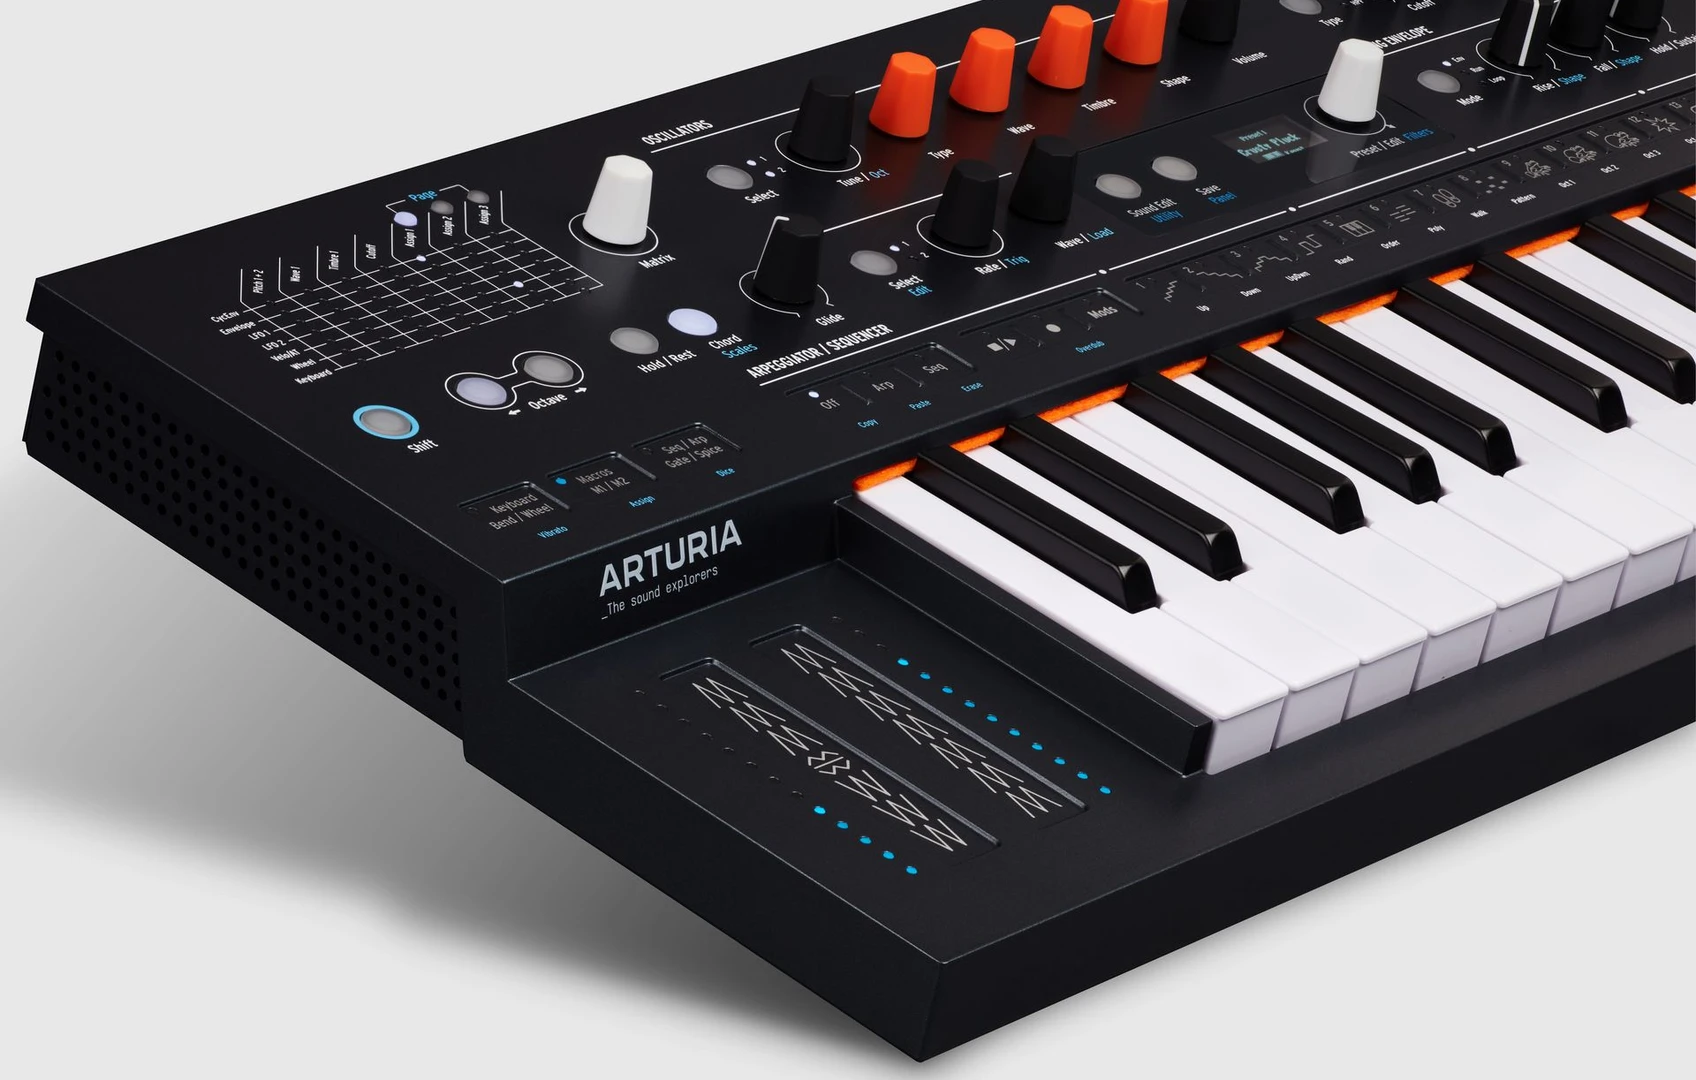
Your sound, inside the patch
Arturia’s free MiniFreak 5.0 update adds import of users’ own samples and wavetables, according to MusicTech’s September 16 report. For a player, that opens a useful possibility: the little scrape before a guitar note, or another familiar recorded detail, could become raw material for a synth part.
That deserves a rehearsal slot. Factory patches remain a perfectly reasonable way to get through a set. An imported source earns its place by giving a song a useful texture or a connection to another instrument. A familiar guitar sound could supply the seed for a keyboard answer without requiring both parts to play the same line.
Transfer speed and stage reliability remain questions for hands-on testing. Start with one source and one musical role, leaving the giant folder of experiments for later.
Samples and wavetables have different jobs
A sample is recorded sound unfolding over time. Its attack and decay can be much of its character. A wavetable commonly holds a series of short waveforms that an oscillator repeats, with movement through the table changing the tone while a note continues.
That difference matters before you prepare files. If the useful thing is the knock at the start of a recording, preserving that event is a sensible aim for sample preparation. If it is a particular grain of sustained tone, wavetable work may be the better direction.
Those are general synthesis principles. MiniFreak 5.0’s supported formats and implementation determine the actual preparation steps. Follow Arturia’s current instructions rather than assuming an arbitrary audio file will serve both purposes.
Make the first source easy to recognize. You want to hear what changes as you edit. A dense recording with several noises fighting inside it makes that harder, especially once effects enter the picture.
Give one sound a part
Try a brief recording of a muted guitar note as a sample-source exercise. Leave enough space around it to hear the onset and decay. Keep an untouched original, then make a working copy with unwanted silence trimmed. Listen for a click at the edit boundary before deciding the file is ready.
Now choose its part. Perhaps you want a clipped answer to a vocal line. Start with a restrained patch, then shape the end of the note so it gets out of the way before the next lyric. Add effects after that timing works. A long reverb tail can make the source impressive on its own while carrying it straight across the space the singer needs.
Save alternatives by function: a shorter version for a busy section, a more open one for an exposed passage. Use your own naming convention to keep them identifiable. Six carefully chosen sources are plenty for an initial session. Get one to work in a song before importing the other five.
Keep the source files close
Personal source material adds housekeeping. Establish where the instrument keeps imported assets and whether the backup procedure captures them alongside patch settings. A preset name tells you very little about what will survive a restore.
Keep an external folder with the original recordings and prepared import files. Add a plain-text note matching sources to patch names, and record the installed update version there too. These are ordinary session habits, useful whenever a sound depends on something you supplied.
Then check the setup you actually intend to play. After following the documented transfer and save procedure, restart the instrument and recall the patch. If the performance is hardware-only, do that check without the computer connected. If a computer is part of the rig, reopen the working setup from a cold start.
You are checking for missing material, unexpected settings, and steps that only seemed obvious while everything was already running. Resolve any recall problems at home, with the original assets to hand.
Take it through the band mix
Rehearse the patch at the level and through the monitoring chain you expect to use. Start with your normal working sound, switch to the new one, and match their apparent loudness. Extra level is an easy way for an unfamiliar patch to win a comparison.
Play the actual part against the arrangement. Check its required note range, then work through the busiest repeated figure and longest held note. Transposing recorded material can change its character. Depending on the playback method, it may also change timing, so listen for what happens to the attack and decay across the range you need.
Pay attention to the gaps. A release that felt generous at the desk can blur a quick phrase. A bright attack may become tiring in repetition or disappear behind another instrument occupying the same space. Adjust the part or patch before reaching for more level.
If your live feed will be mono, audition the sound that way. If you use a pedal or controller during the part, rehearse that movement while playing it. End by switching to the next sound on the setlist. Include the handover in your rehearsal check.
Update on rehearsal time
Schedule the update for a day when you can afford to stop and check things. Preserve your existing work using the official backup procedure before changing the setup. Avoid planning around a rollback unless Arturia’s documentation confirms how it works for your situation.
Existing owners have a concrete reason to revisit the instrument: their source recordings can enter the sound-design process. Prospective buyers still need to assess the rest of the instrument, including how it feels to play and how comfortably its workflow fits their setup. An import feature cannot answer those questions by itself.
For the first rehearsal, bring one finished patch with an identifiable job. Note which song uses it and where it enters. Keep the previous working sound available so you can switch back if the new part crowds the vocal or loses its attack in the mix.
Comments
No comments yet.