

 Written by Levi Torres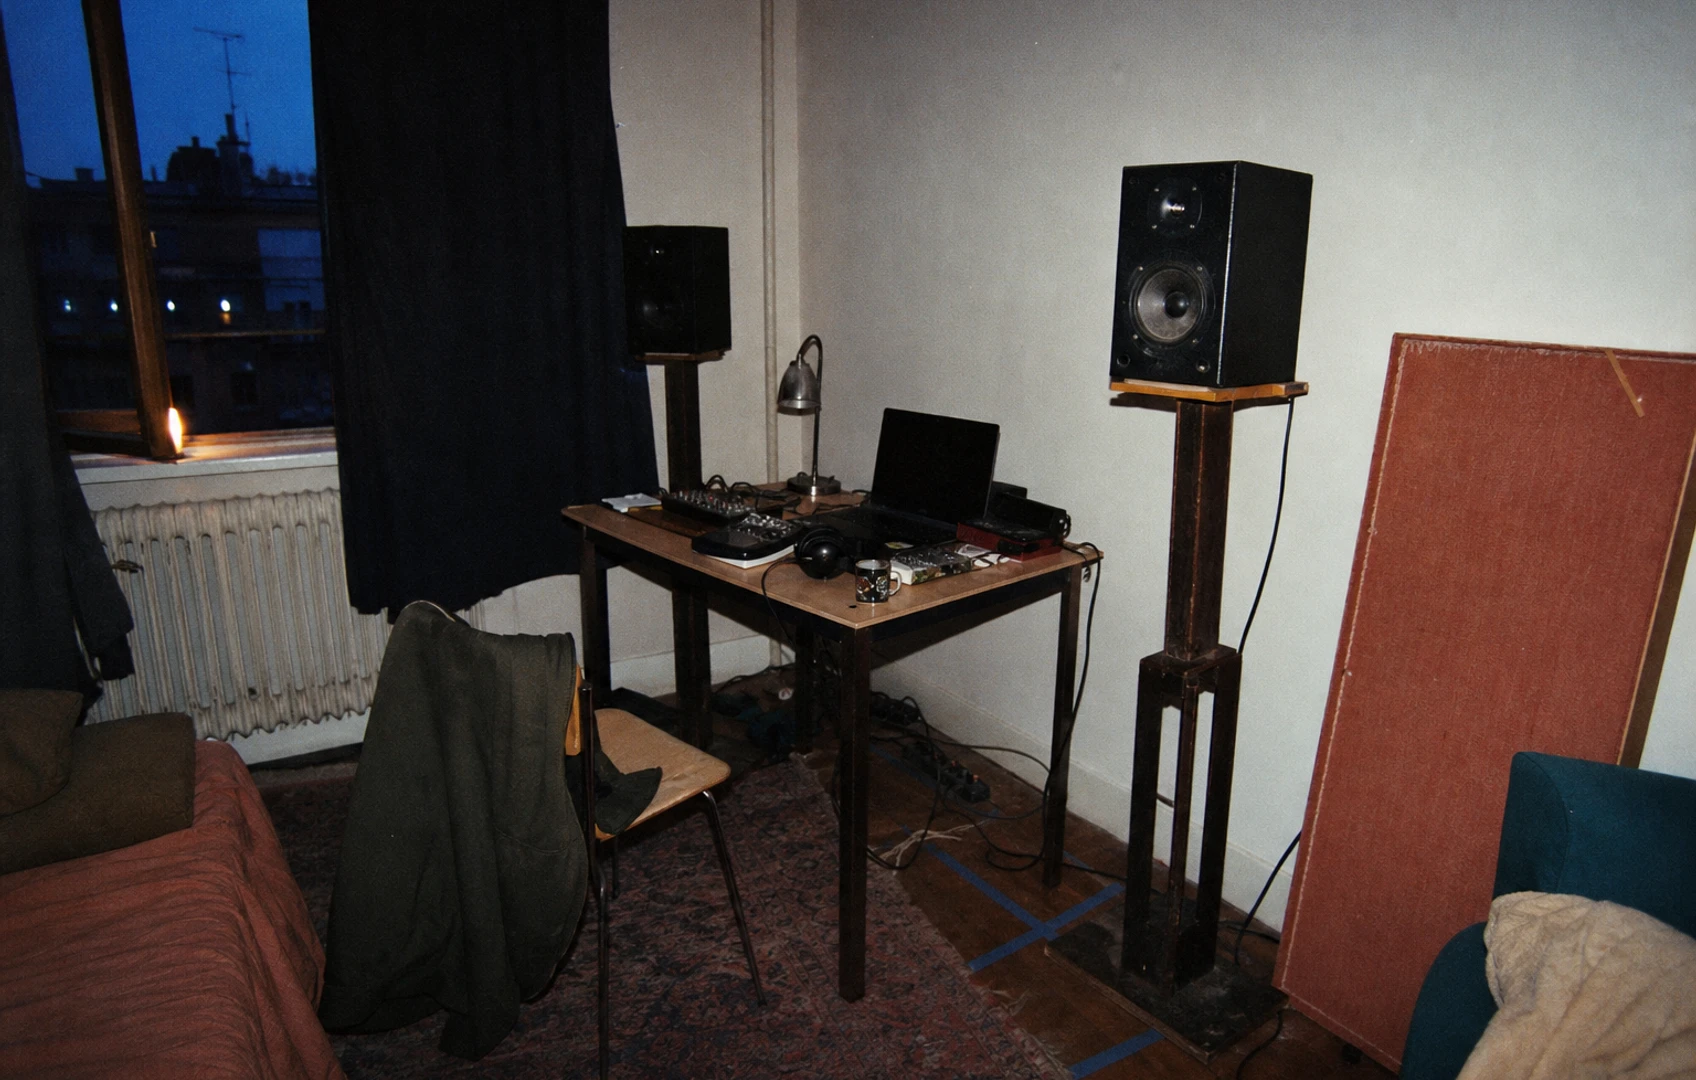
Hear the room first
A home studio usually announces its problems after you stop admiring the gear. The vocal carries a papery halo. One bass note grows shoulders while the next seems to leave through the wall. A snare that felt brutal at the desk arrives polite in the car. Treat those as clues before opening a shopping tab.
A fresh MusicTech guide has returned home-studio acoustics to the workbench, including the often-muddled split between treatment and soundproofing. The useful target is predictability. You want a listening position that lies less often and a recording area that sends less room back into an open microphone. Start with painter’s tape and a notebook. Mark where the desk, speakers, chair, and microphone stand sit before changing anything. Free experiments are easier to judge when you can undo them.
Treatment and isolation split here
Acoustic treatment manages reflections and decay inside a room. Sound isolation limits transmission through walls, doors, floor, and ceiling. Serious isolation usually depends on mass, airtight construction, and structural decoupling. That can become building work, especially in a rental.
Thin foam may calm a bright reflection or flutter echo. It cannot keep drums from reaching the next apartment, and it will barely trouble traffic entering through a weak window or door. For outside noise, use the quietest recording hours, move the microphone away from the leak, close-mic the source where appropriate, and pause a rattling room fan during takes when safe. A noise gate can close spaces between phrases. The bus under a sustained vocal stays printed in the take.
Knowing which problem you have saves money and adhesive. A shared wall covered in little wedges still lets the neighbor’s television join the chorus.
Put geometry to work
Before hanging panels, make the room do some free labor. Place the left and right monitors as symmetrically as the space allows. Put the tweeters near ear height on stable supports, then begin with the speakers and listening position forming an approximate equilateral triangle.
Speaker distance from walls changes low-frequency behavior. Check the maker’s placement guidance because cabinet and port designs vary. Universal advice about pulling every speaker far into the room misses that detail.
Test several chair positions. The exact center of a room can coincide with troublesome modal behavior, while a shift of a hand’s width may change the bass balance. Play a familiar mono voice and a track with an easy-to-follow bass line at a modest level. If the centered voice leans or the bass changes wildly, move one item and listen again. Keep the speakers matched relative to the side walls whenever possible.
Mark promising positions with tape. Change the chair, then the speakers. Moving everything together turns diagnosis into furniture roulette.
Catch the early bounce
Early reflections reach your ears shortly after the direct speaker sound. They can blur stereo placement, alter tone, and make small mix decisions harder than they need to be. The mirror method offers a simple way to locate the first side-wall reflection points. Sit in the mix position while a helper slides a small mirror flat along one wall. Mark each place where you can see either speaker, then repeat on the other side.
Those marks are useful candidates for broadband absorption. A panel with substantial depth can affect a wider range than a thin tile. Leaving an air gap behind a porous panel can extend its effectiveness farther down the spectrum. The absorbing core does the work. Its fabric covering should contain the material securely while allowing sound to pass through.
A ceiling reflection between the speakers and chair may also deserve attention, especially in a low room. The desk itself can act like a large shiny reflector. Adjusting speaker height and angle, or reducing the exposed desktop between you and the monitors, may clean up that path without adding another panel.
Diffusion scatters sound instead of absorbing it. Effective diffusion needs physical depth and enough listening distance to develop. Cramped rooms usually give you clearer results by controlling the strongest reflections first. Whatever you move, keep the monitors stable.
Bass needs space
Low-frequency wavelengths interact with room dimensions and boundaries, creating peaks and cancellations. At the listening position, a slow sweep or familiar bass scale played at a modest level can reveal notes that swell and others that fade. Repeat the check while leaning slightly forward and backward. A dramatic change over a short distance points toward geometry.
Start with placement. Move the chair or speakers in small steps and retest after each change. Then consider deep porous absorption at corners or wall-ceiling boundaries, where useful thickness can sometimes be fitted. Tiny foam wedges cannot perform the same low-frequency job. Effective bass traps consume space because bass control obeys physics. Product-photo optimism has no jurisdiction here.
Room-correction software can reduce some peaks around a measured listening area. Boosting a deep cancellation consumes headroom without making that seat dependable. Use headphones as a second check, then compare on another playback system you know. A direct input can keep a bass guitar or synth recording free from room reflections, though the room still shapes what you hear through the monitors.
Make the furniture earn rent
Household objects already affect the room, so put them on the payroll. Heavy curtains with deep folds can reduce some high-frequency reflections. A rug can soften floor bounce in the upper frequencies, though the bass will stroll straight through it. A sofa often contributes useful absorption. A full bookcase with uneven object depths may scatter some upper-frequency energy, although its behavior is less predictable than a designed diffuser.
For vocals, try a secured duvet or movable absorber behind the singer, then test the nearest hard wall as a second position. Keep the microphone placement identical when comparing. A clothes-filled closet may produce a dry upper range and a boxy lower midrange, so listen before declaring it a booth.
Egg cartons stay in recycling. Their shallow shape and light construction offer little broadband control. If you build panels, choose materials intended for the job, enclose the fill securely, follow its handling instructions, and mount the finished panel with hardware rated for its weight. Every household fix works over a limited frequency range. Listen for the exact problem it changes.
Change one thing, then stop
A clap test can expose flutter echo, ringing, or a hard metallic tail. It says little about the full bass response. For useful comparisons, record the same phrase with the same microphone position, gain, and performance distance. Save each version with a note describing the single change you made.
If a calibrated measurement microphone and room-analysis software are available, use them to inspect broad peaks, cancellations, and decay. Treat phone apps as rough comparators. Consistent placement matters more than a screenshot with impressive colors.
A sensible order of operations looks like this:
1. Remove avoidable rattles and noise sources.
2. Establish the speaker and chair geometry.
3. Locate and control the strongest early reflections.
4. Address bass through placement and substantial trapping.
5. Build one movable recording area for microphones.
6. Measure again and remove anything that solved no audible problem.
A ruler-flat graph can eat every weekend you own. Once the room behaves predictably across several sessions, leave the tape marks on the floor for a week, close the shopping tabs, and record the song.
Comments
No comments yet.